As you’ll know if you’ve ever tried to build a reasonably-sized microservices application locally you can run out of system resources quickly. I have an M1 Mac Mini with just 8GB of non-upgradable RAM and, although it’s pretty fast, once I’ve spun up a few services each with their own database instances, and caches, things can get a bit sluggish.
So in order to free up some of that valuable memory, I figured I’d offload things to a Kubernetes cluster running on some relatively cheap hardware and in this post I’ll describe the steps I took so that you can do the same.
Note that all instructions are MacOS based. (sorry/not sorry)
The Software
Although you could install a standard K8s distribution, for something as small as a Raspberry Pi it makes sense to use something that’s purpose-built for running on IoT appliances or at the network edge. So for our RPi cluster we’ll be using Rancher’s K3s as it’s a lightweight, certified Kubernetes distribution, built for running production workloads, that’s optimised for ARM processors and works great on the Raspberry Pi.
The Hardware
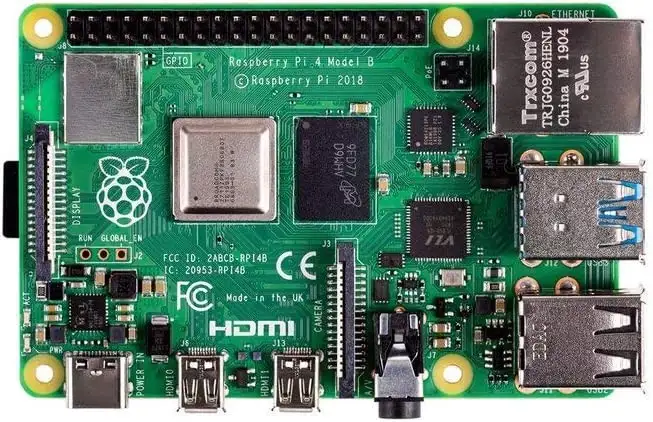
Start by grabbing a few RPIs with power supplies — one is enough, but the more you can throw at this the better. I went for 4x Raspberry Pi 4 Model B with 4GB of RAM each.

Of course, you’ll also need some storage so grab some SD Cards with sufficient capacity. I went with 1x SanDisk Ultra 256 GB microSDXC Memory Card for the master node with 3x SanDisk Ultra 32 GB microSDXC Memory Card — I got a larger card for the master node as eventually, I’ll want the master node to also house a private container registry.
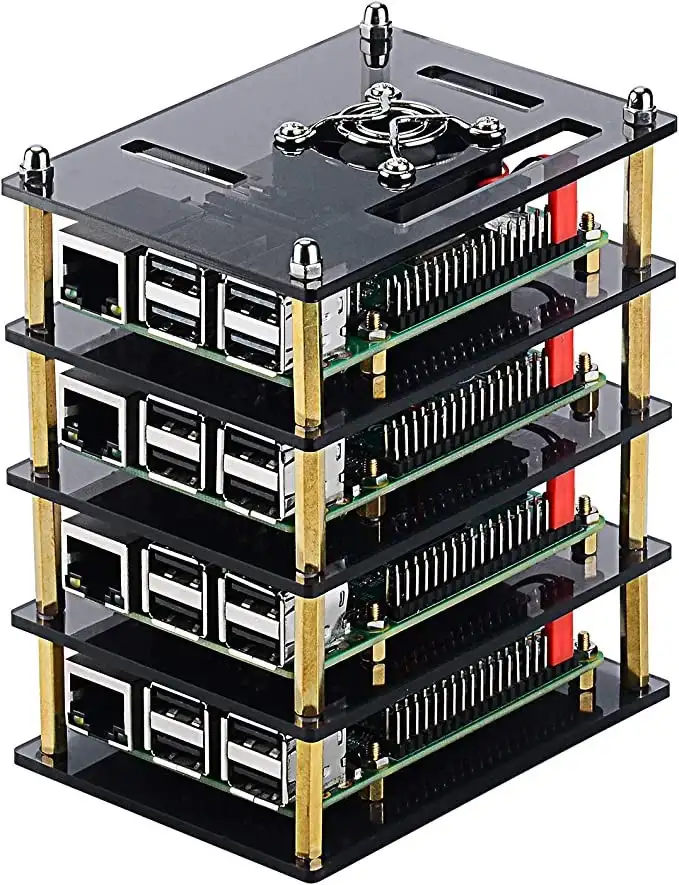
To house the RPIs I picked up this Pi Rack Case which came complete with fans and heatsinks. Looks great once it’s built, although the fans are a little louder than I would have liked.
The Installation
Burn the OS
We’ll start by setting up the master node as agents can be easily added later on. To burn the OS I use the Raspberry Pi Imager which makes OS selection and initial set-up super easy...
For our nodes, we don’t need a GUI so we’ll use Raspberry PI OS Lite (64-bit) — a port of Debian Bullseye with no desktop environment. Once you’ve selected the OS use the Advanced Options to do the grunt work of the set-up.
- Set an appropriate hostname for your master — I elected to use k3s–0 for my master node with k3s–1, k3s–2 & k3s-3 for my agents
- Enable SSH — ideally with an SSH key as this will make access to the cluster much easier from your development machine. If you decide to go with password authentication to start with you can easily transfer your SSH key later with ssh-copy-id
@ - Set up wireless LAN — this is the quickest and easiest option and it keeps your set up tidier by eliminating the need for you to cable up via an ethernet switch, albeit at a performance cost.
- Finally set your locale settings and hit SAVE...
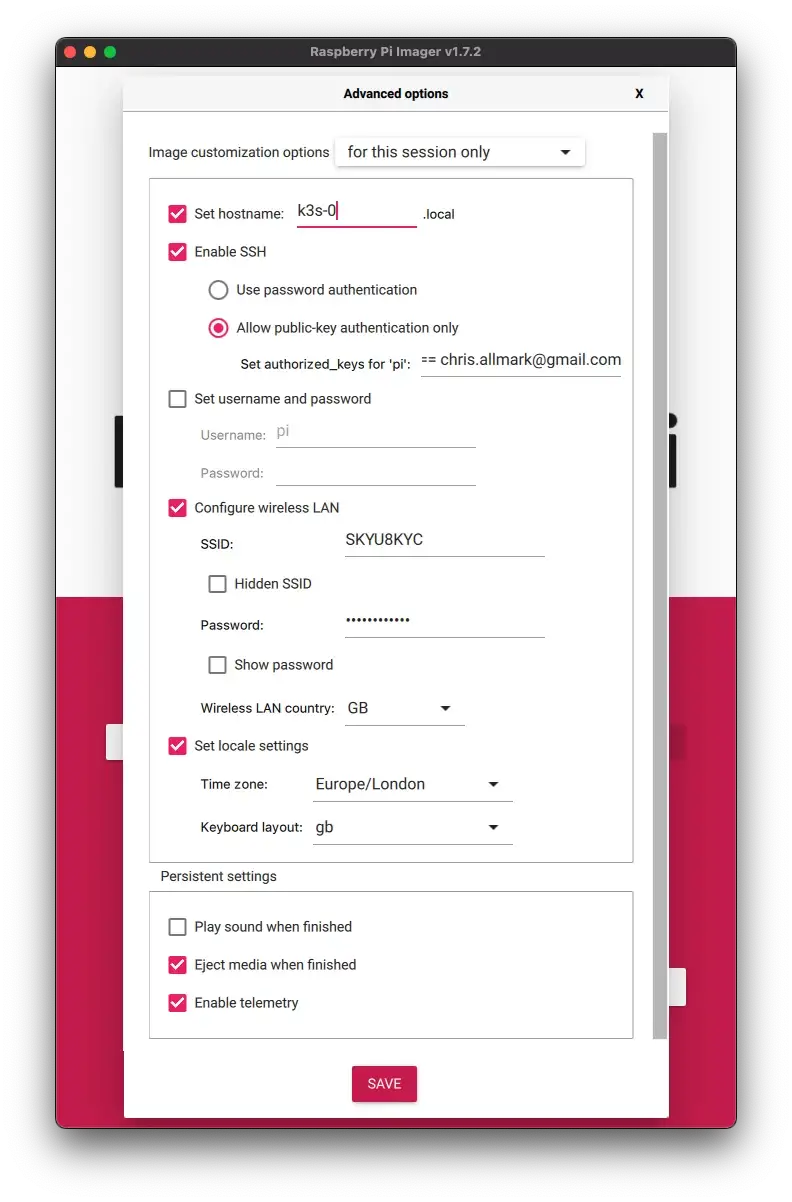
Now hit the WRITE button and wait for the image to burn to the SD card.
Enable Cgroups
Once it’s complete you’ll need to reinsert the card (if you had ‘Eject media when finished’ checked) as we need to enable cgroups before we boot up.
From your terminal enter:
sudo nano /Volumes/boot/cmdline.txt
add:
cgroup_enable=cpuset cgroup_enable=memory cgroup_memory=1
...and save. Now safely eject the SD card and insert it into your RPi.
Reduce GPU Memory
Once the RPi has booted you should be able to use SSH to connect to it using ssh
Configure IP Tables
K3S networking features require iptables and do not work with nftables which are the default for Raspberry Pi OS so we need to issue the following commands to use legacy iptables:
sudo sudo apt-get install iptables
sudo iptables -F
sudo update-alternatives --set iptables /usr/sbin/iptables-legacy
sudo update-alternatives --set ip6tables /usr/sbin/ip6tables-legacy
sudo reboot
Use Static IP Addresses
As we’re building a cluster our nodes will need to be able to each other so we need to make sure that they’re using static, not dynamic, IP addresses. You should be able to easily configure this through your router management software which will typically ask you to supply the IP address you want to use, the device name and its MAC address. You can either fix the IPs that were dynamically assigned or else pick a suitable range of IPs, for example:
For convenience I’d suggest that you add these to your list of local hosts so on your local machine enter:
sudo nano /etc/hosts
add:
192.168.0.100 k3s-0
192.168.0.101 k3s-1
192.168.0.102 k3s-2
192.168.0.103 k3s-3
You should probably reboot both your router and your Raspberry Pi at this point and SSH via the hostname with:
ssh pi@k3s-0
Install K3s
Now it’s time to install K3s and it couldn't be simpler:
curl -sfL https://get.k3s.io | sh -`
...and that’s it. Once it’s running you can verify that it’s up and running with:
sudo kubectl get nodes
At this point, you only have a single master node so you should see:
NAME STATUS ROLES AGE VERSION
k3s-0 Ready control-plane,master 5m v1.24.3+k3s1
Connect To The Cluster
To connect to the cluster from your local machine, you’ll need to use kubectl — check if you have it already installed with:
kubectl version
If you don’t already have it installed then you can easily add it via brew with:
brew install kubectl
Once you’ve got kubectl up and running you’ll need to update (or create) a ~/.kube/config file. K3s automatically generates this file for you, so grab a copy by logging in to your master node and typing:
sudo cat /etc/rancher/k3s/k3s.yaml
The contents of this file can be copied straight into your ~/.kube/config/ or you can append it you your existing configuration — this is useful if want to flip between the K3s cluster and K8s in Docker Desktop.
Note that you’ll need to point the server to the master node of your cluster so change: server: https://127.0.0.1:6443 to server: https://k3s-0:6443. You may also want to rename the connection from “default” to something more useful such as “k3s”.
Once that’s done you should be able to inspect your cluster with:
kubectl get nodes
Adding Agents
Now it’s time to expand the cluster by adding agents. The process for building an agent is broadly the same as for building the server, for each agent RPi you’ll need to:
- Burn the OS
- Enable Cgroups
- Reduce GPU Memory
- Configure IP Tables
PRO TIP: Once you’ve burned the OS, booted the agents and logged in, the steps to take on the agents are identical so using a terminal broadcast tool, which mirrors input across multiple terminal windows is super useful.
I use hyper.js with the hyper-broadcast plugin for this.
To register an agent with the master you need to provide a token which can be retrieved from the master node with:
sudo cat /var/lib/rancher/k3s/server/node-token
Copy this token and paste it into the following command along with the IP address (not hostname) of the master node:
curl -sfL http://get.k3s.io | K3S_URL=https://<master-ip>:6443 K3S_TOKEN=<node-token> sh -
...and that’s it. Now if you reissue:
kubectl get nodes
...you should see:
NAME STATUS ROLES AGE VERSION
k3s-0 Ready control-plane,master 3d16h v1.24.3+k3s1
k3s-1 Ready <none> 3d v1.24.3+k3s1
k3s-2 Ready <none> 3d v1.24.3+k3s1
k3s-3 Ready <none> 3d v1.24.3+k3s1
Test It Out
Now you’ve got your cluster up and running it's time to take it for a spin.
I’ve created a demo application that you can download from https://github.com/chrisallmark/k3s-cluster-demo. It’s a simple React client with a server API that just returns the server's hostname for display.
To deploy the application to the cluster we’ll use Skaffold which you can install via brew with:
brew install skaffold
By default (if you haven’t set up a private registry) your images will be pushed/pulled to/from Docker Hub so you’ll need to configure the infra scripts with your Docker Hub ID with:
./configure.sh <docker hub username>
Check that you’ve logged in to your Docker Hub account with docker login and you should now be able to deploy to your cluster with:
skaffold dev
Note that in dev mode skaffold patches your running containers as modifications are made in your local environment and on termination it will tear down your infrastructure leaving your cluster clean and tidy.
If all goes well you should see console output from both the client and server applications and be able to view the client using http://
The project is configured to run two replicas of each, so if you refresh the client application a couple of times you should see it round-robin between each server instance.
Take a look at client.yaml & server.yamlfiles in the infra directory to see how each deployment is configured, as well as the ingress-route.yaml as K3s uses Traefik for its ingress by default.
Explore Further with K9s
![]()
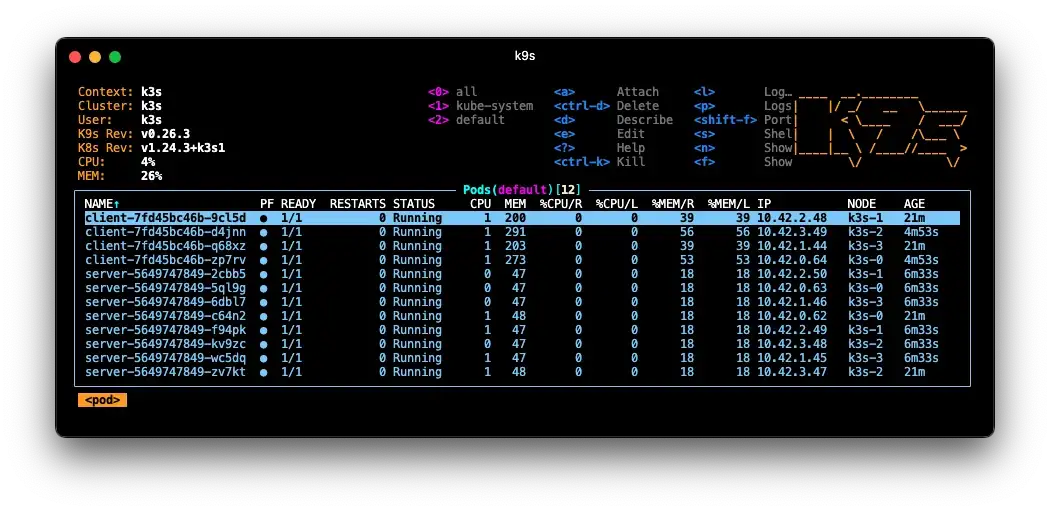
I recommend installing the K9s Kubernetes CLI to explore your cluster and a get sense of what’s going on under the hood. Install it with:
brew install k9s
When you launch K9s You should see a list of your running pods in the default namespace — if not type :podand hit enter. In the example below I’ve scaled up the replicas to 4x Clients + 8x Servers and they’re spread across all four nodes of the cluster:
Finally...
I don’t run the cluster all of the time so I created a few “convenience” shortcuts in my shell:
alias d=docker
alias k=kubectl
k3s_reboot() {
    ssh pi@k3s-3 "sudo reboot"
    ssh pi@k3s-2 "sudo reboot"
    ssh pi@k3s-1 "sudo reboot"
    ssh pi@k3s-0 "sudo reboot"
}
alias k3s-reboot=k3s_reboot
k3s_shutdown() {
    ssh pi@k3s-3 "sudo shutdown now"
    ssh pi@k3s-2 "sudo shutdown now"
    ssh pi@k3s-1 "sudo shutdown now"
    ssh pi@k3s-0 "sudo shutdown now"
}
alias k3s-shutdown=k3s_shutdown
So when I’m finished with my cluster I can just shut down all of the nodes and then power it down via a smart plug. “Alexa turn off k-threes” ...
Now try Adding a Private Docker Registry to your RPi Kubernetes Cluster ...